This tutorial describes how to add images to articles.
Prerequisites
Administrator access to a Joomla site (version 5 or above). See 1.0 Admin Login.
An images to add to the article.
Add Images to an Article
In this tutorial we will create and save a new article for the purposes of demonstrating adding images, and then delete the article and images You may use an existing article on your site if you choose.
Steps
- Login to Joomla as an administrator and navigate to the Home Dashboard.
- In the left side menu, expand Content and click on Articles.
- Click on the New button. A new-article form appears.
- Enter a title for your article.
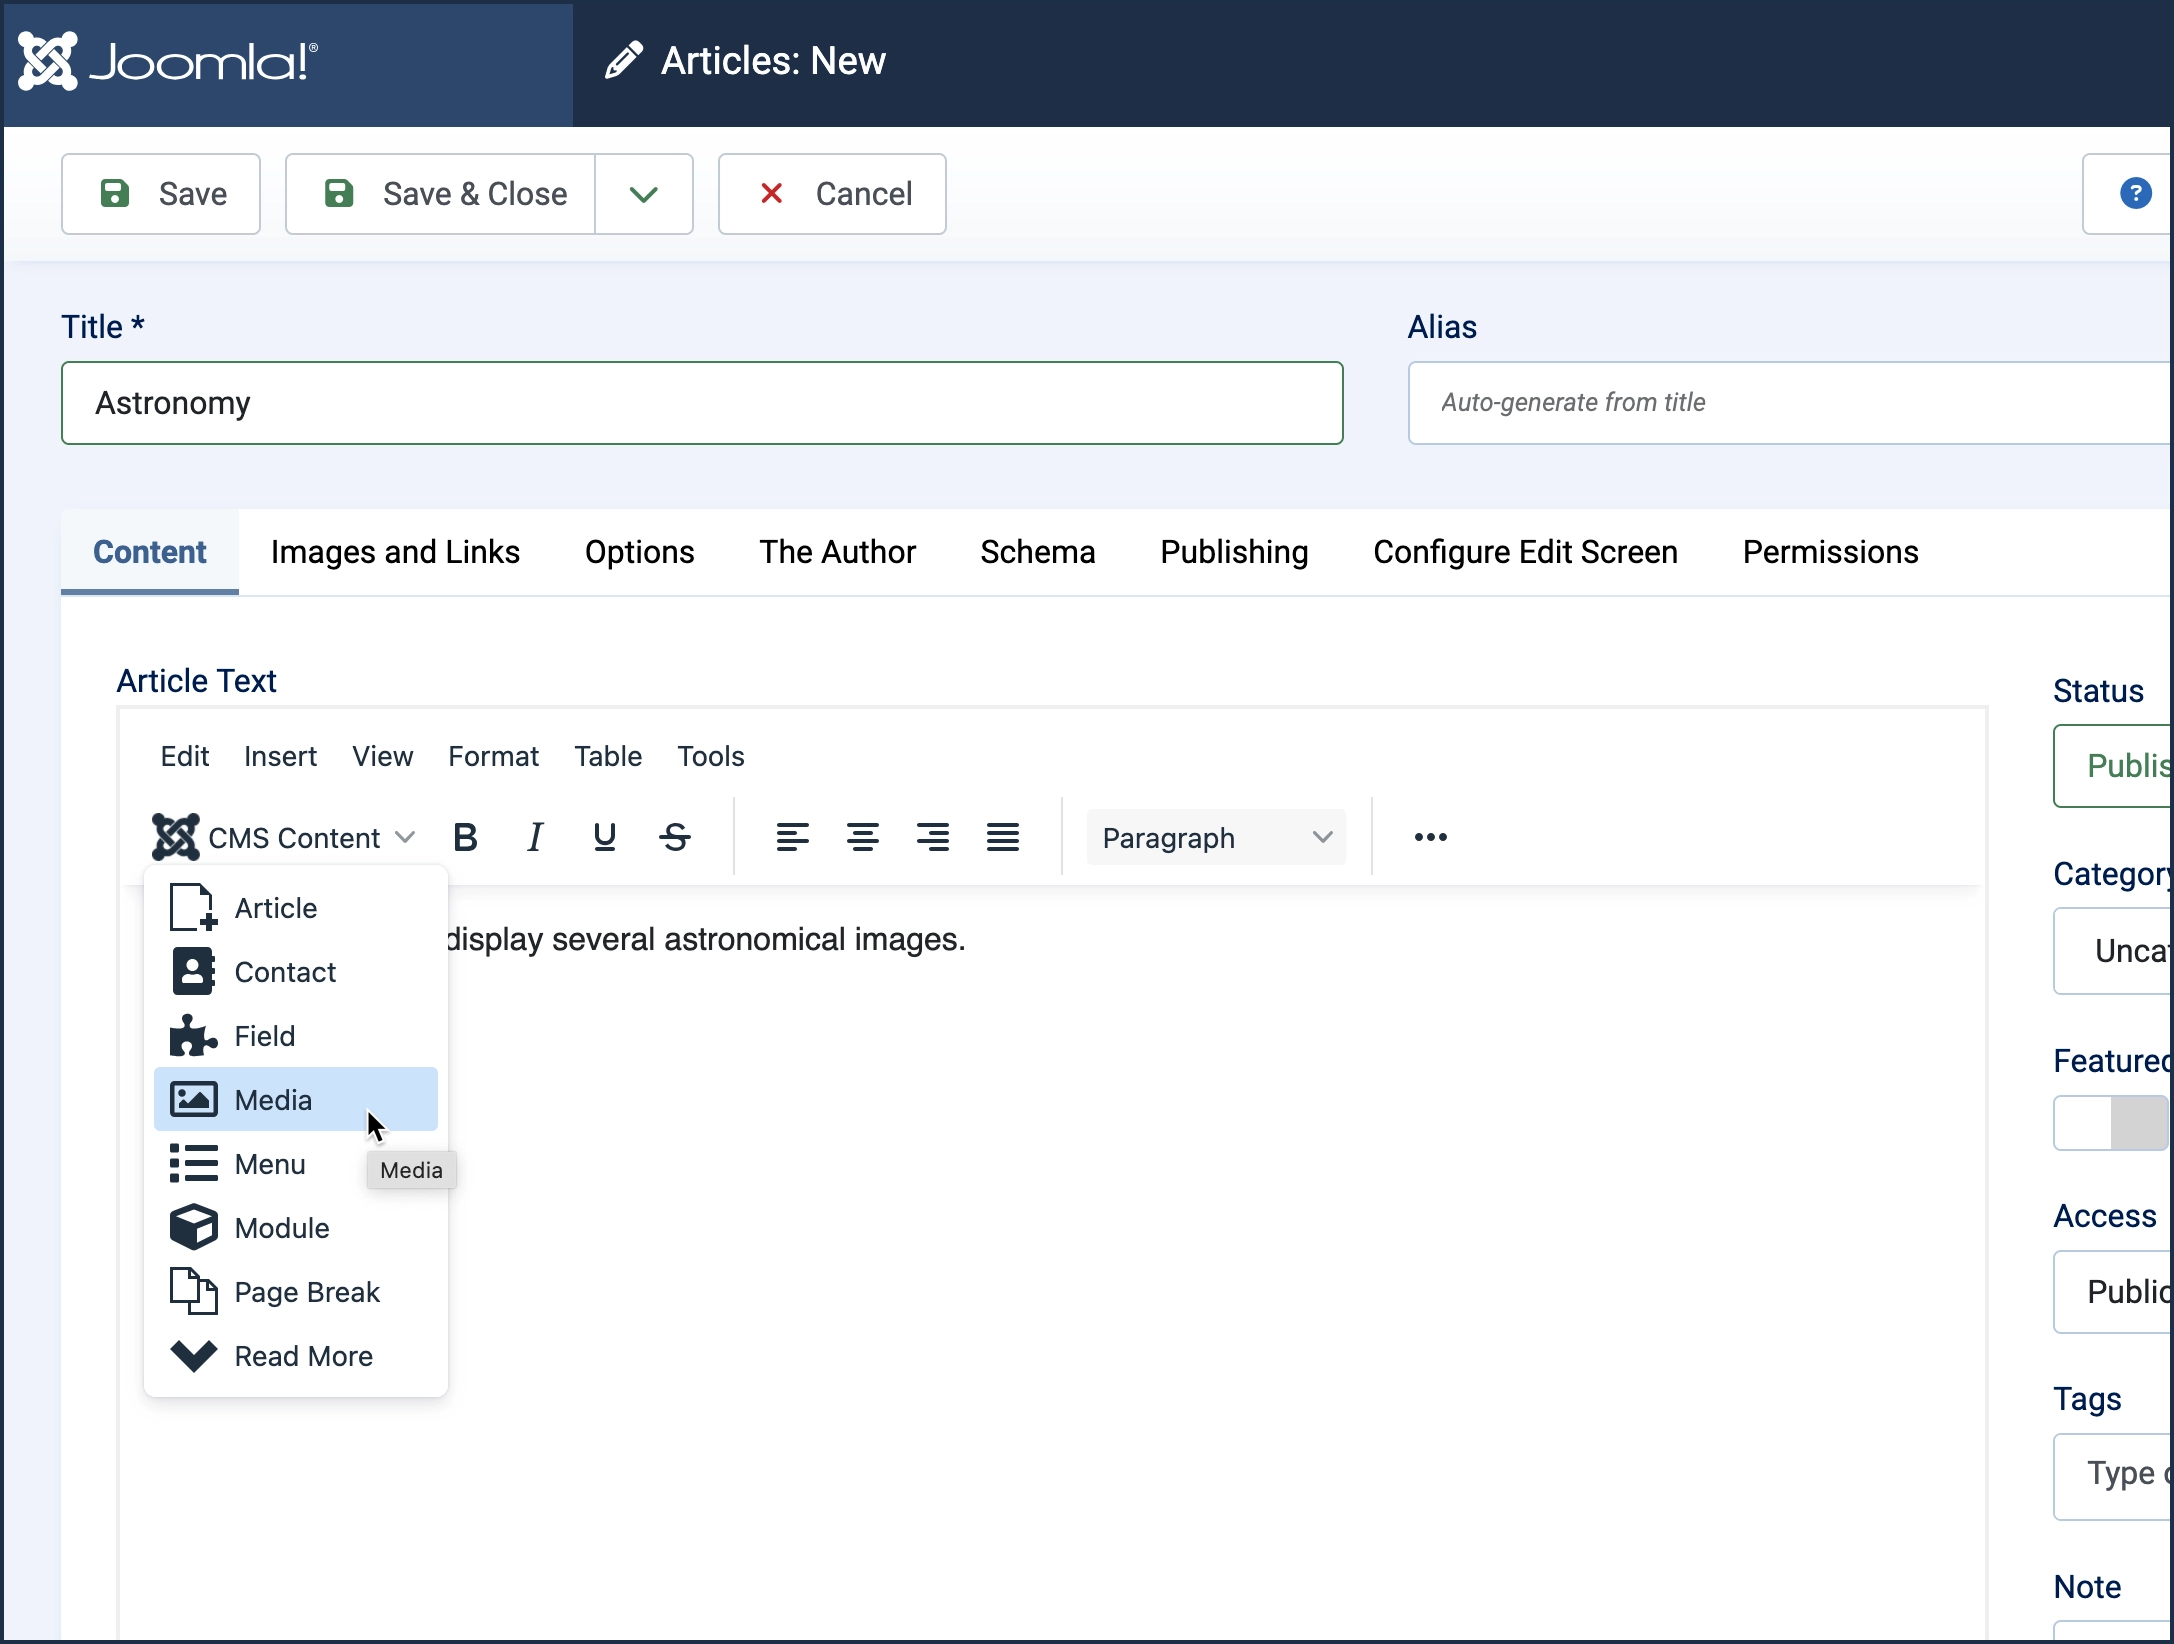
- Add some text to the article then on a new line select Media from the CMS Content menu.
- The Media page appears in a popup frame.
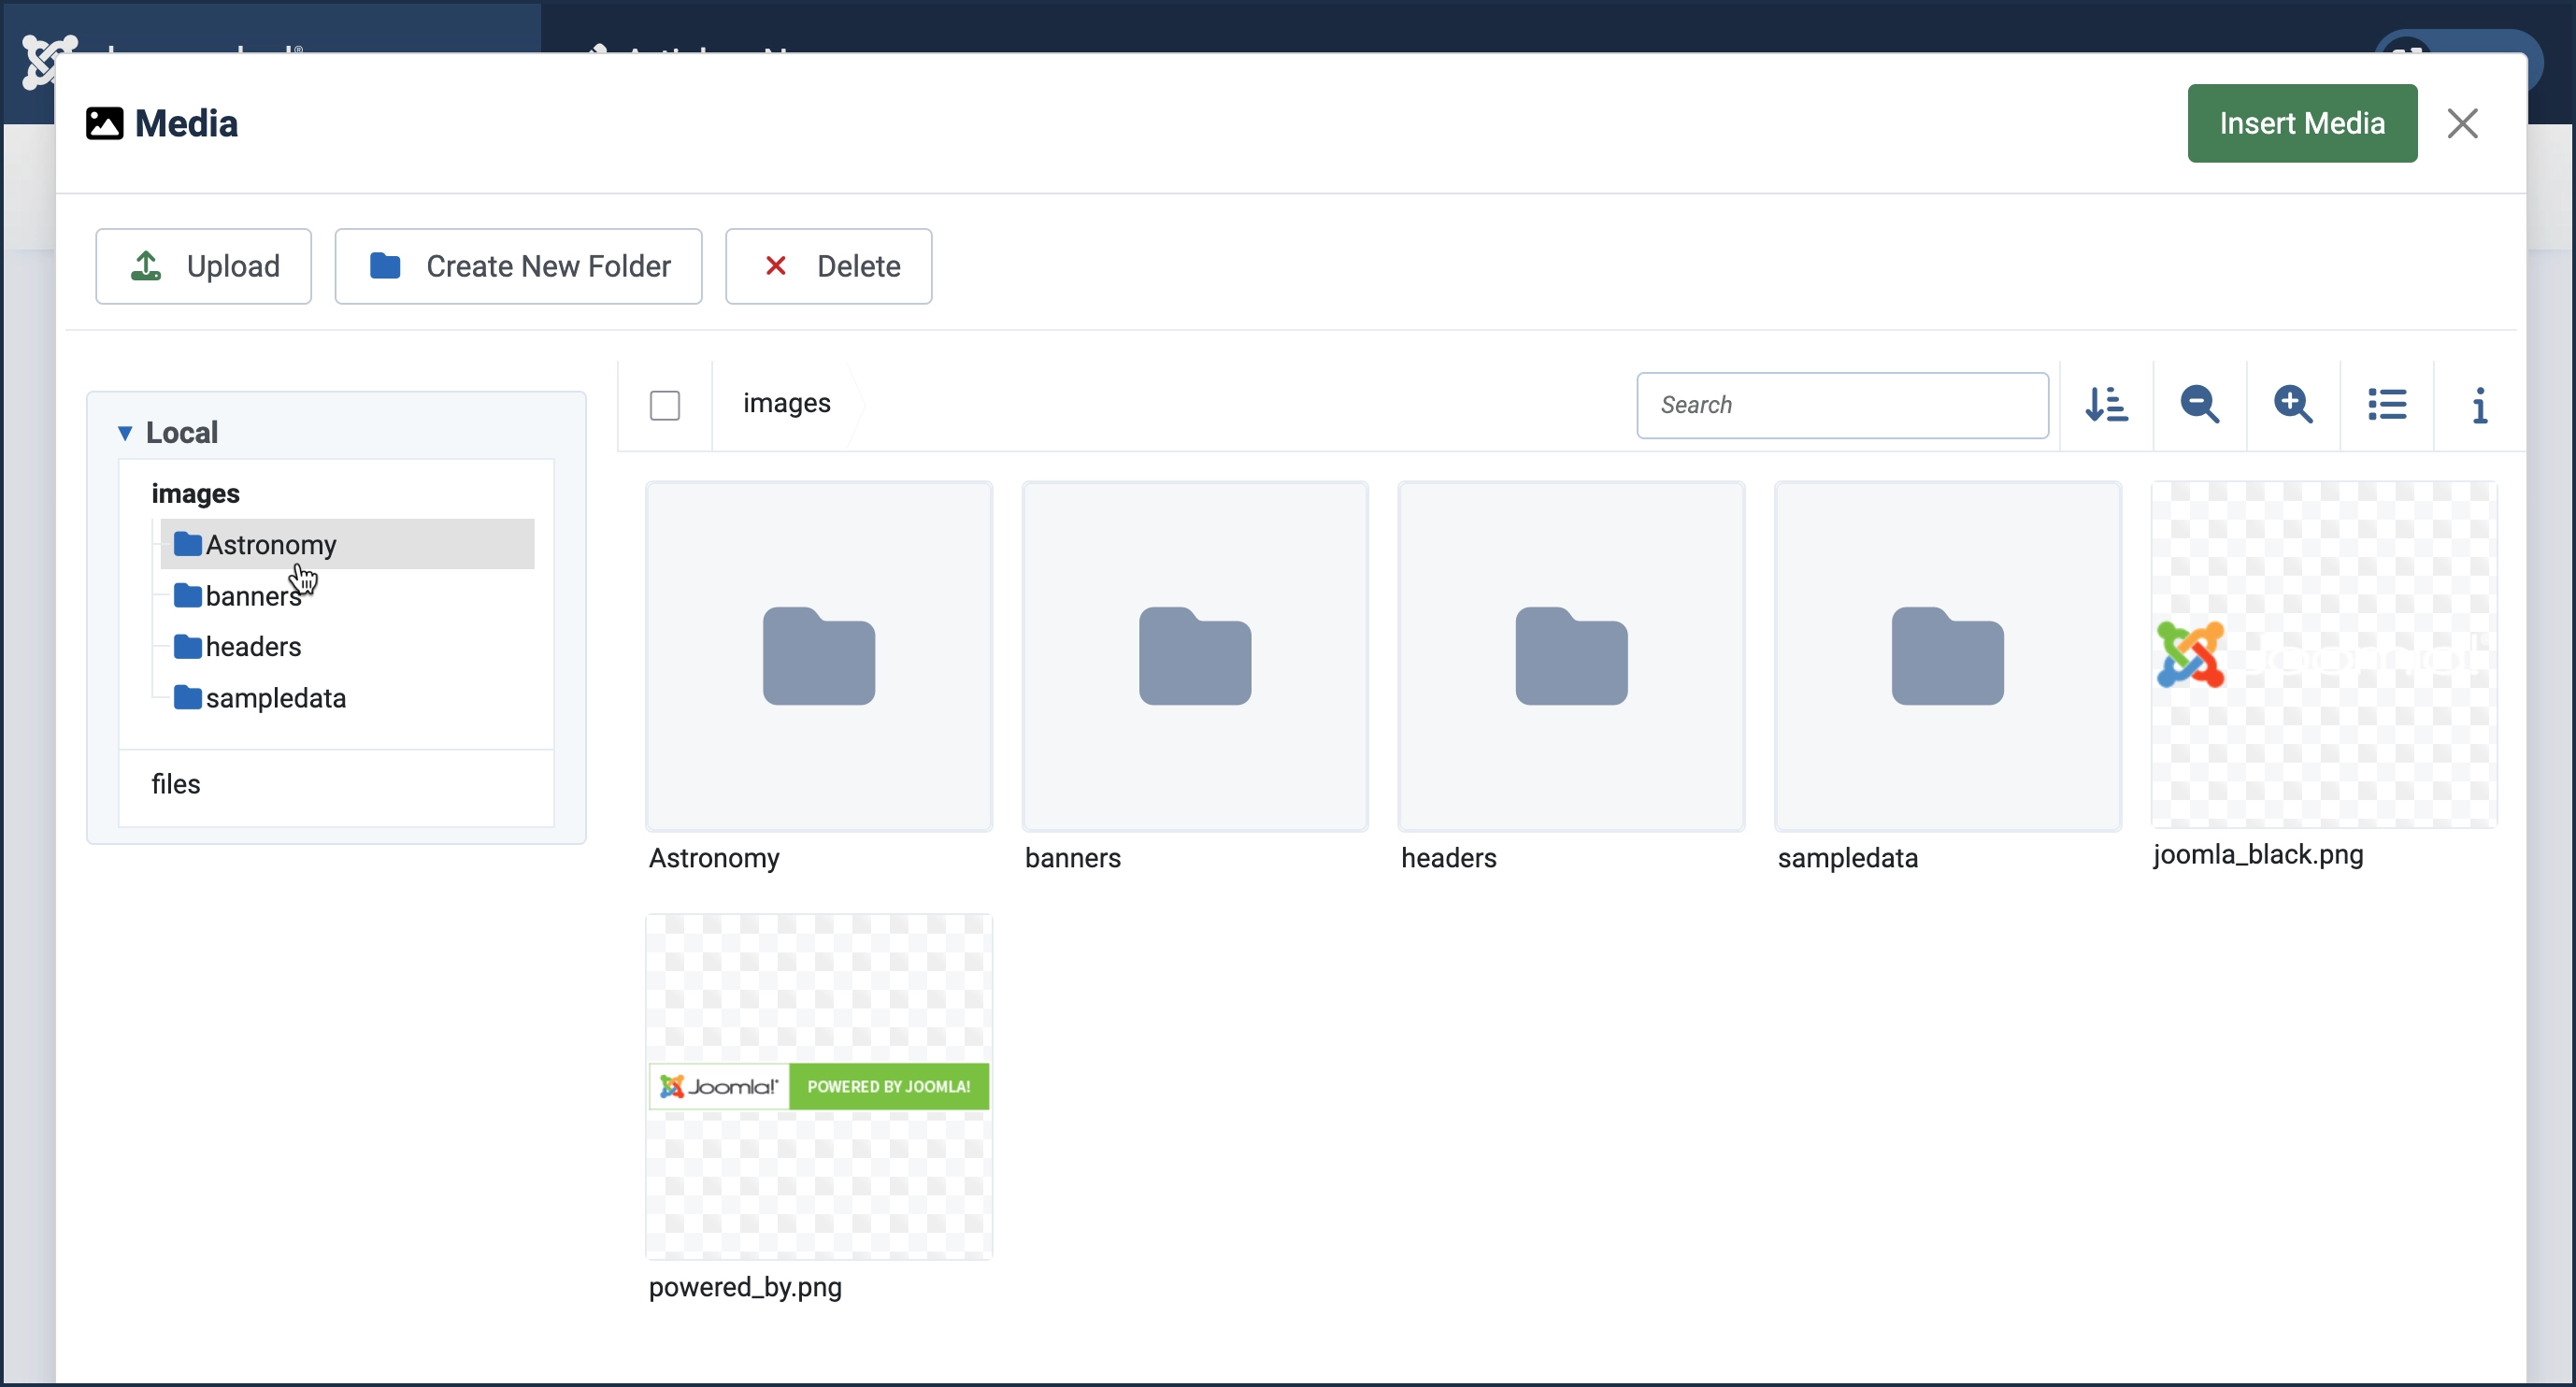
- Click to add a new folder and name it Astronomy (or something meaningful for your site).
- The page refreshes with the new folder shown.
- In the left-side navigation area, click on the new folder.
- The page refreshes and displays the new folder.
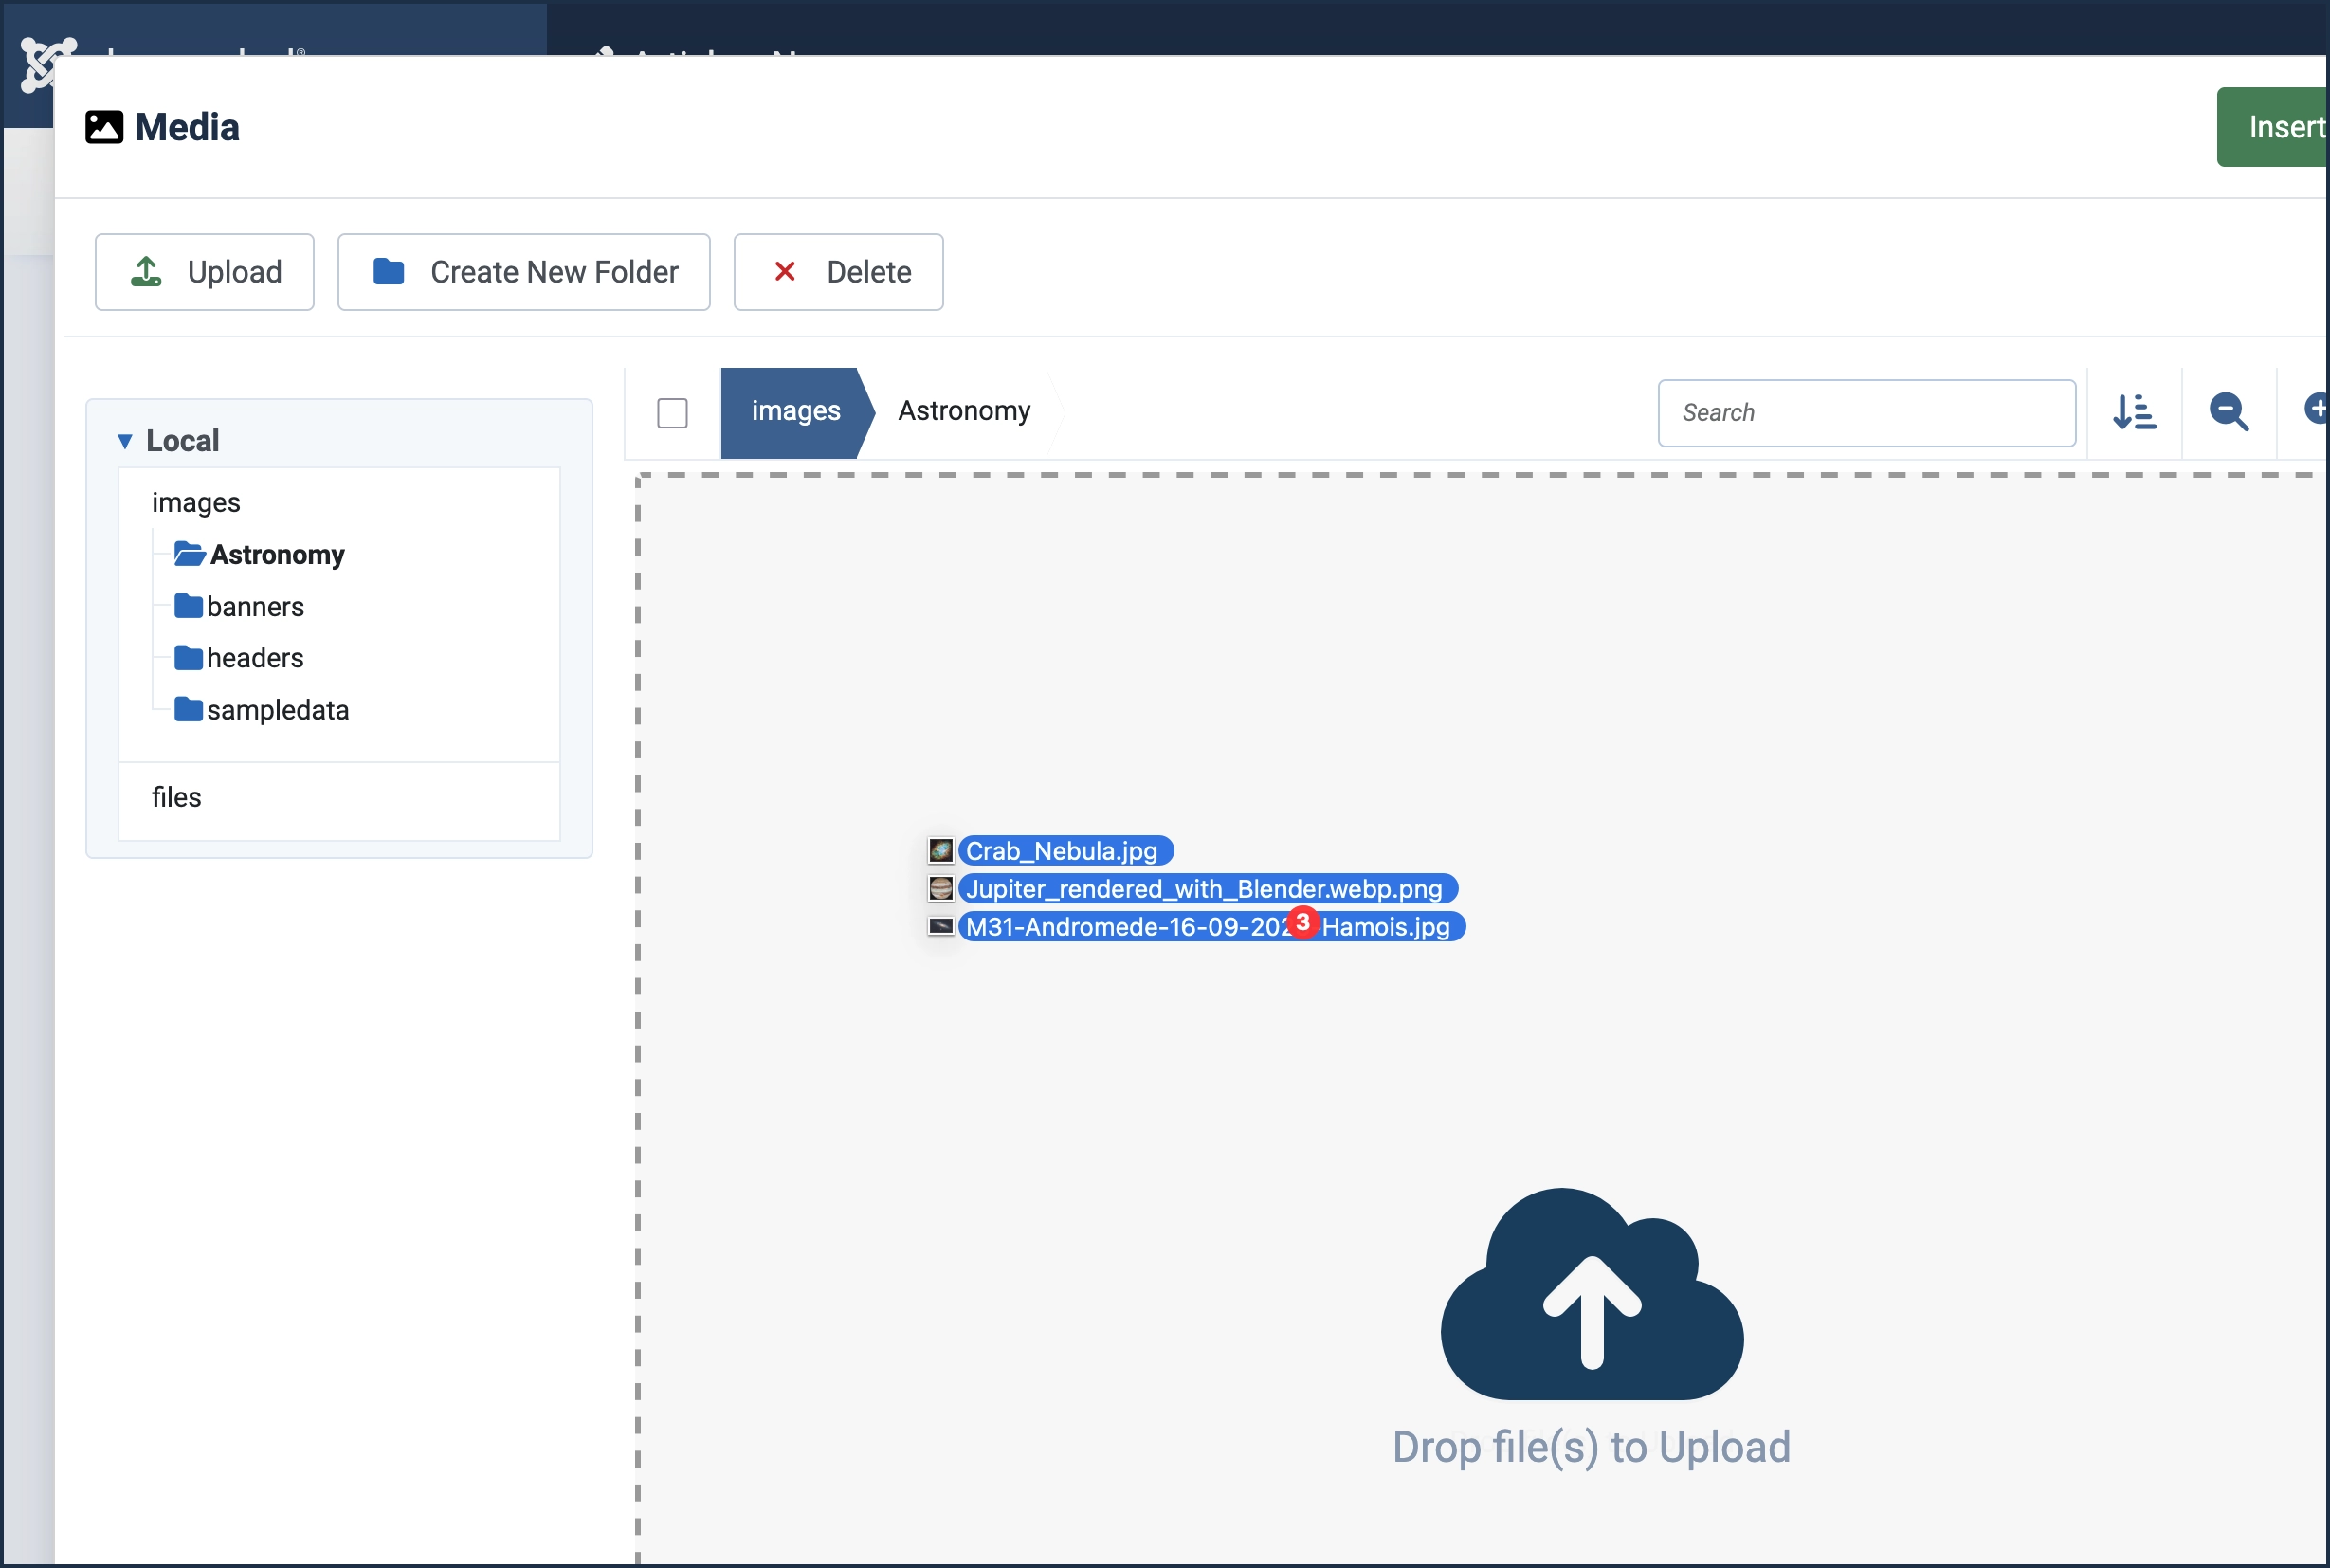
- Add images to the new folder by drag-and-drop or using the Upload button at the top of the page.
- You may add a single image or multiple images.
- The images are being uploaded to your new folder but have not yet been added to your article.
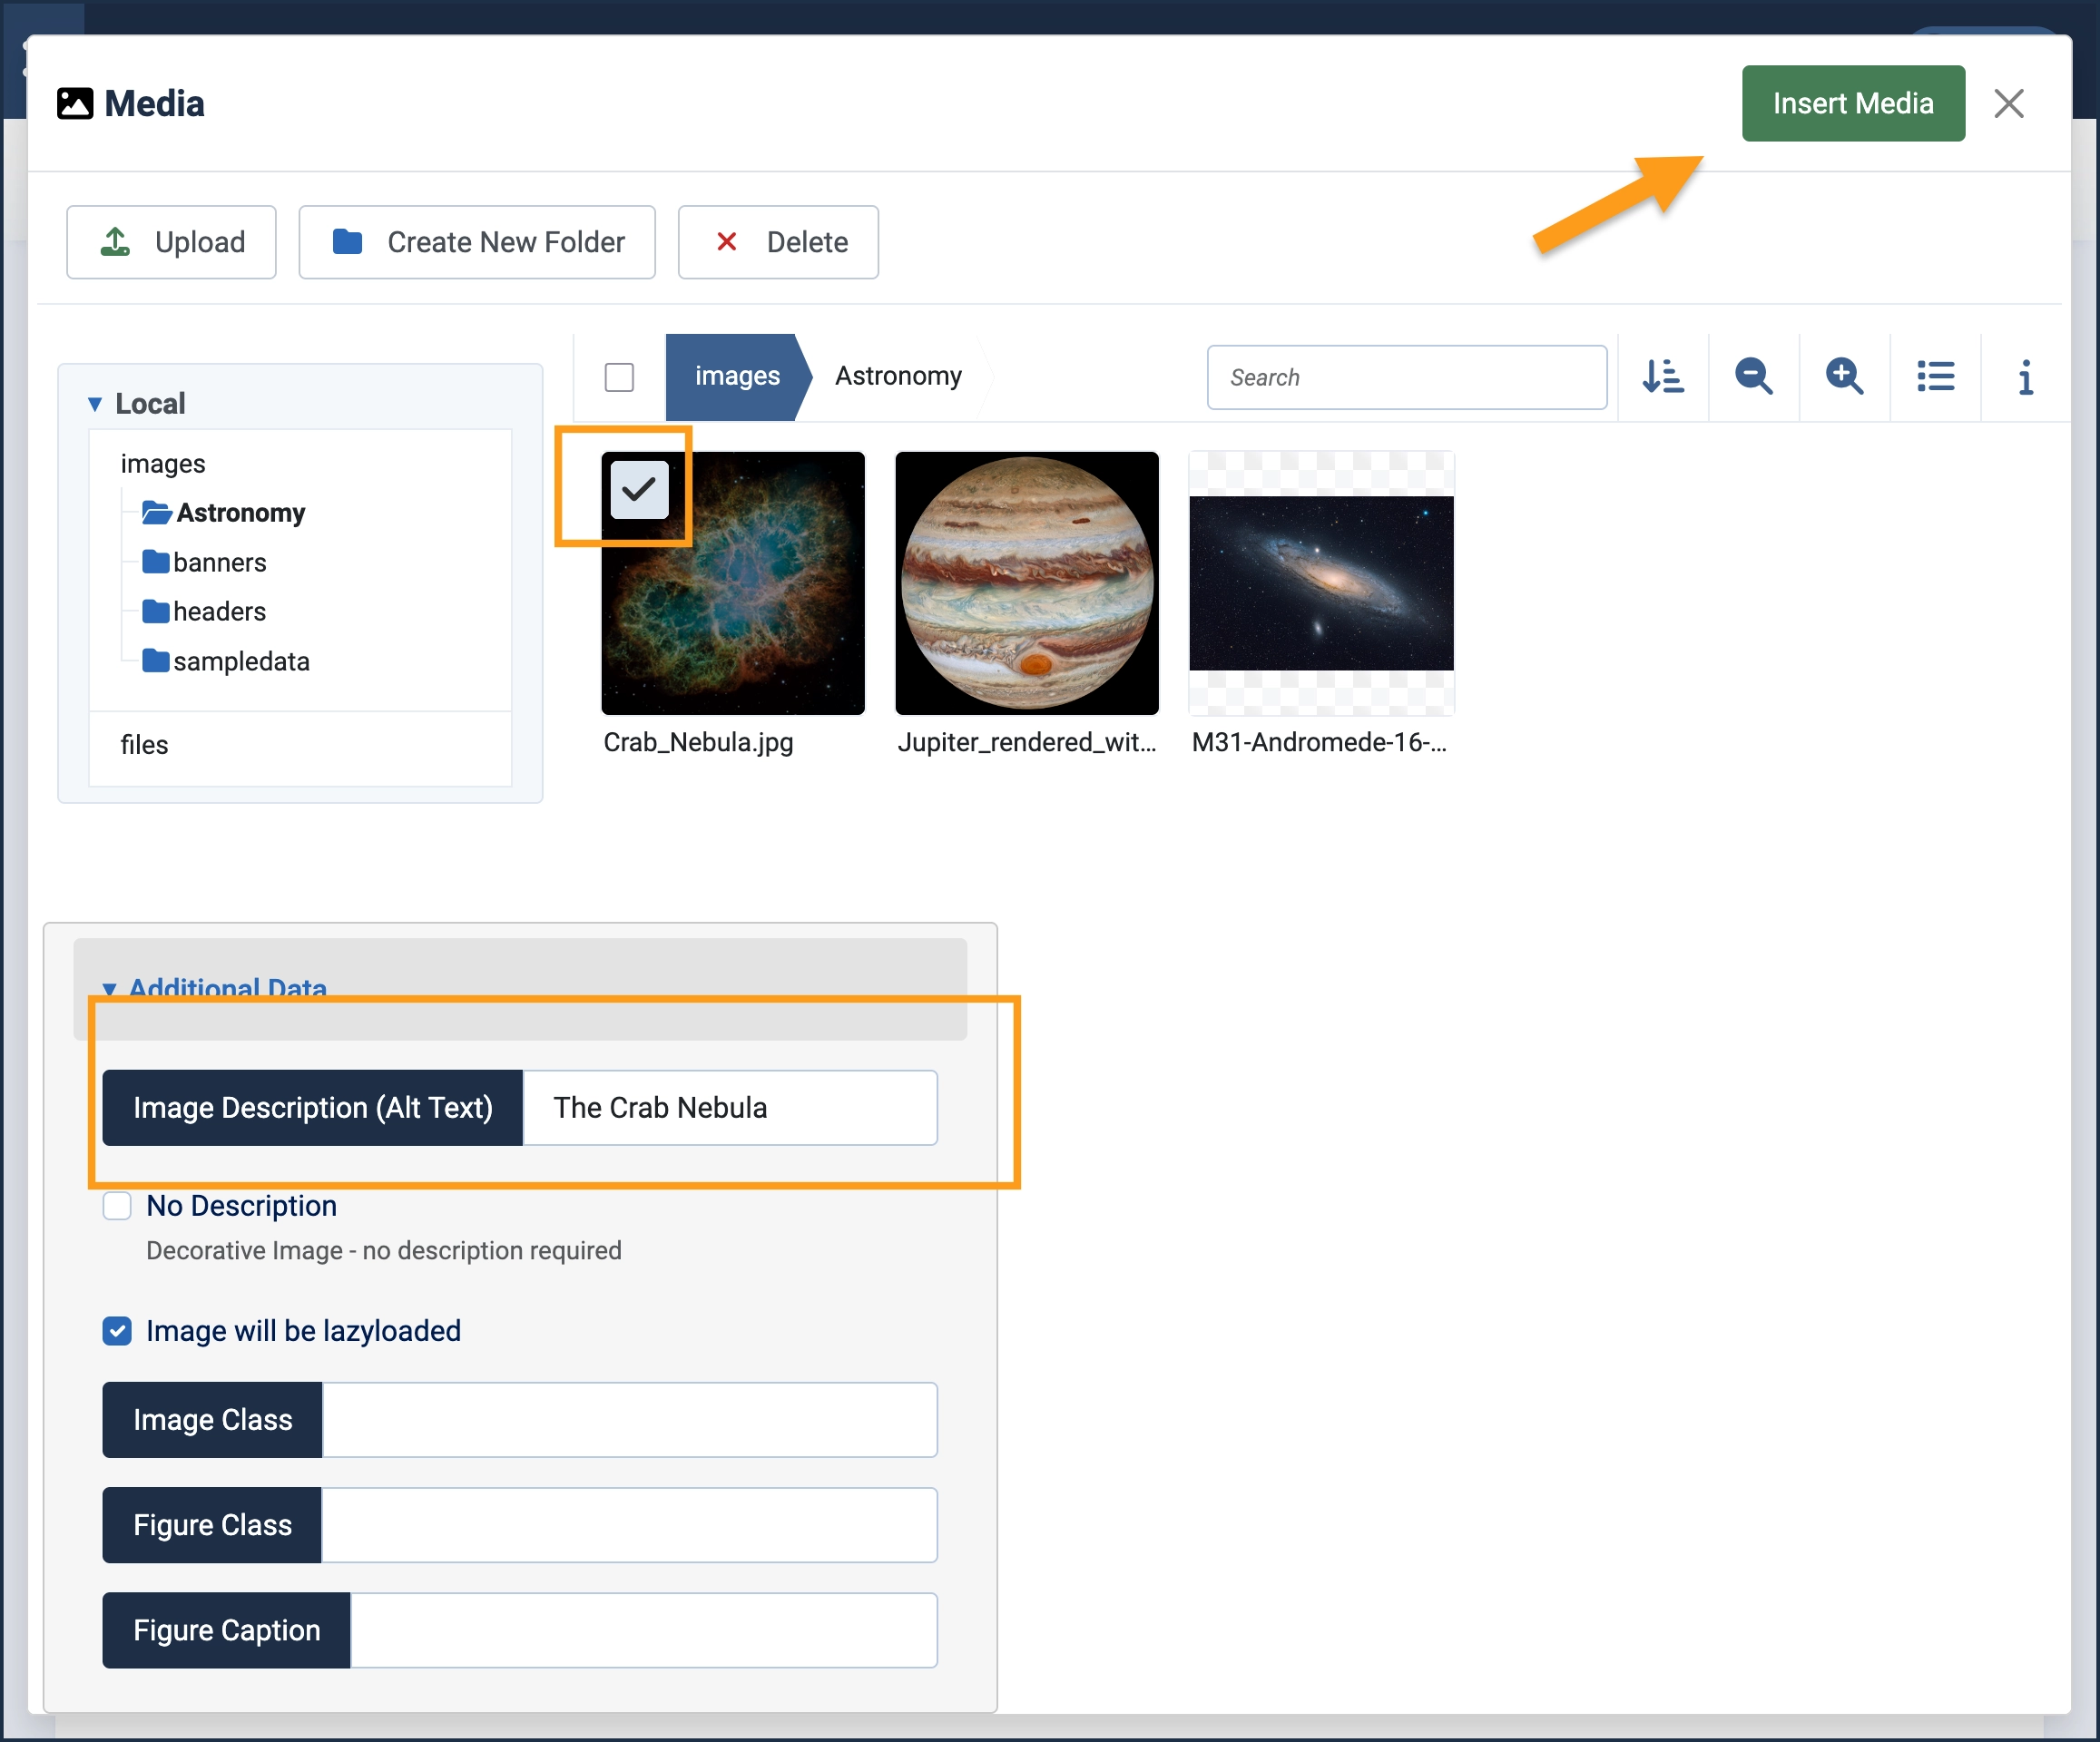
- Click on an image to select it.
- In the Additional Data form add descriptive alternate text, then click the Insert Media button at th etop of the form.
- The frame closes and the image has been added to the article.
- Click on the image to select it.
- A blue bounding box appears with square handles at the corners.
- Drag the handles to resize the image.
- Right-click over the image.
- A context menu appears, allowing you to create a hyperlink or edit image properties.
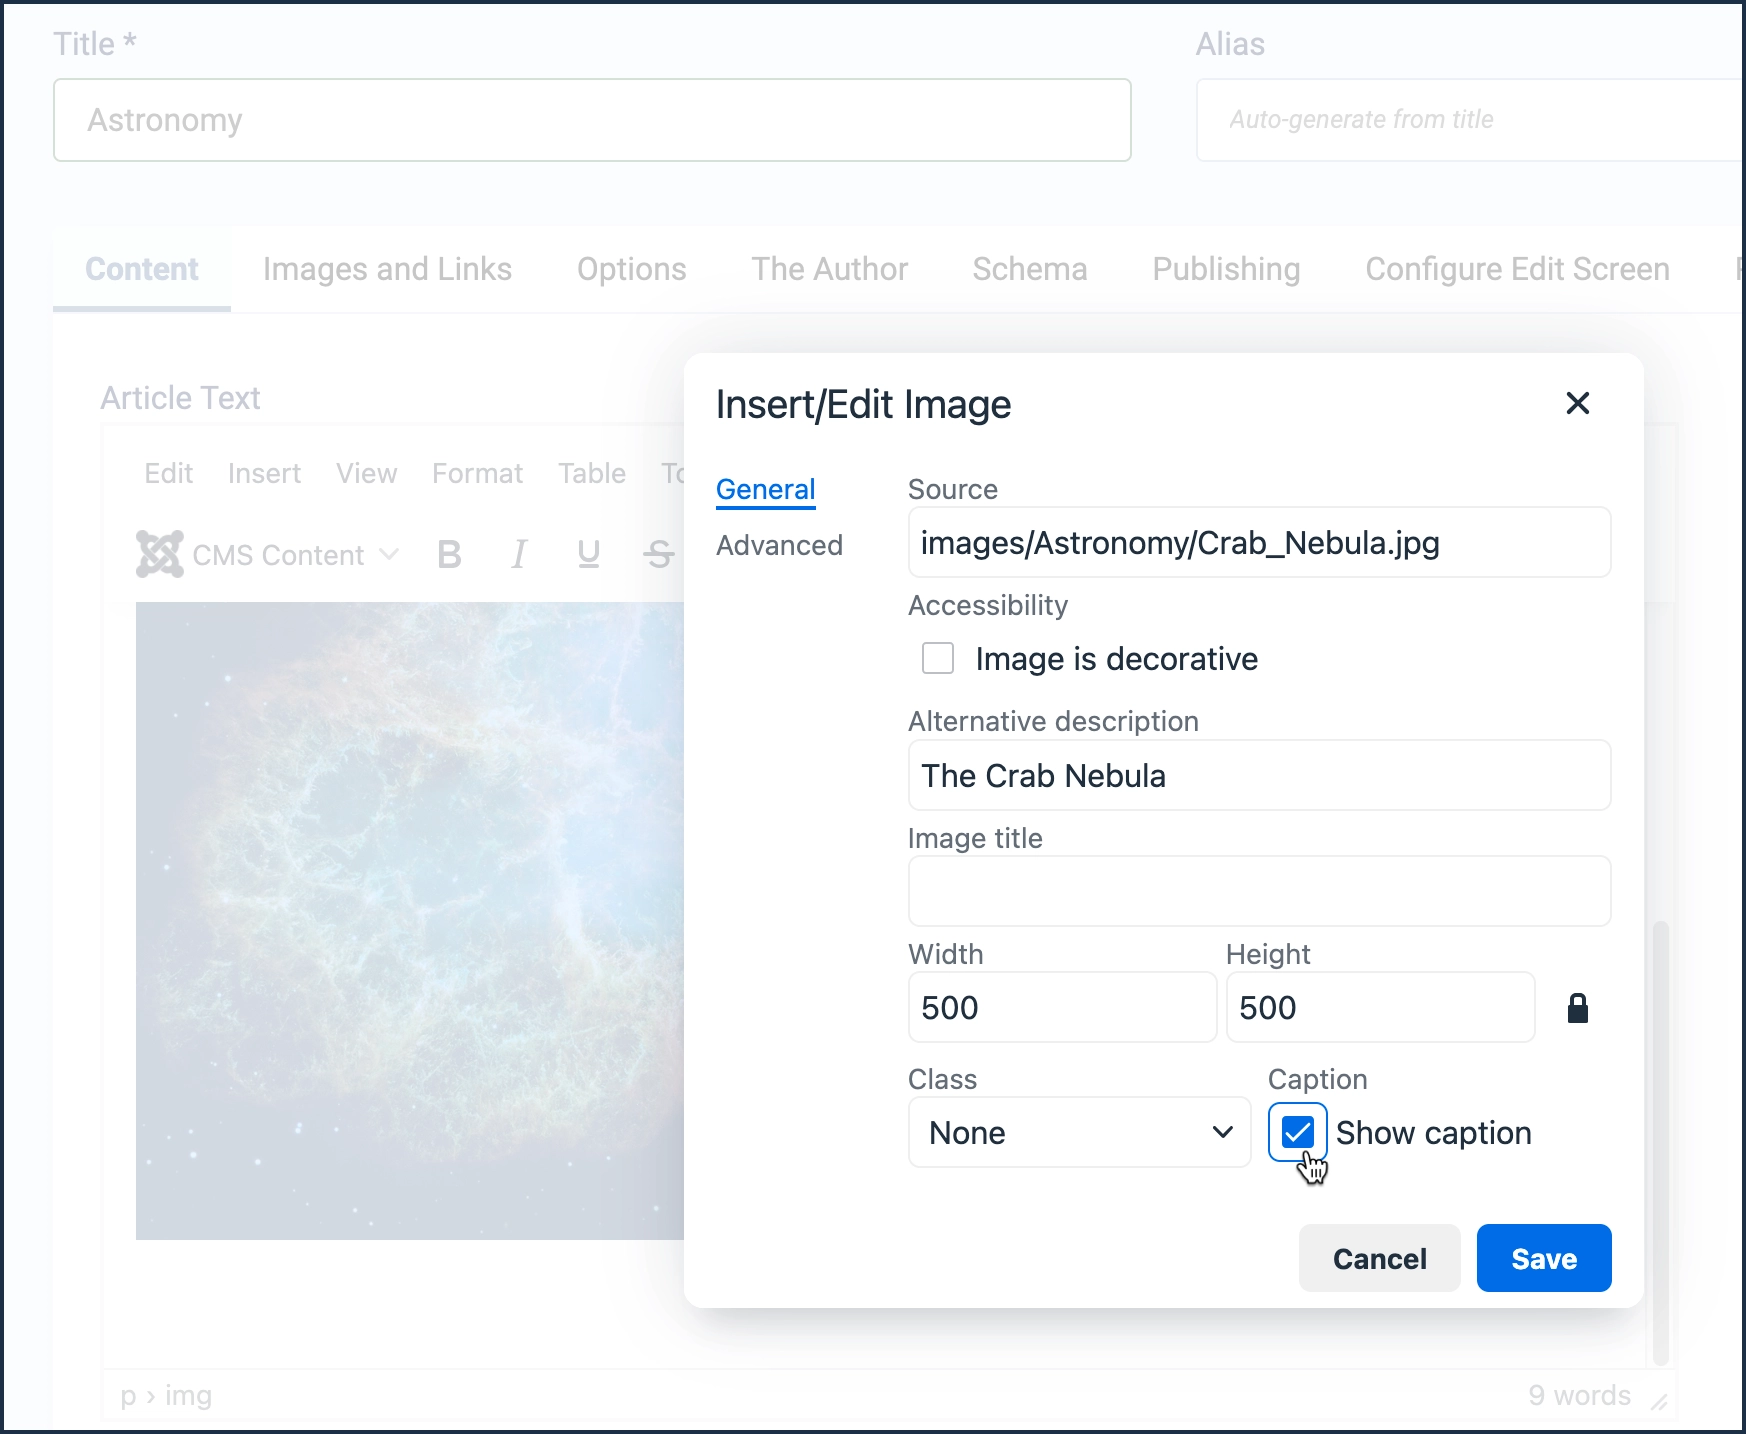
- Choose Image to edit the image properties.
- The image properties form appears.
- Click between General and Advanced to explore the options.
- A caption is descriptive text placed below an image. Captions are optional. We will add a caption to our image.
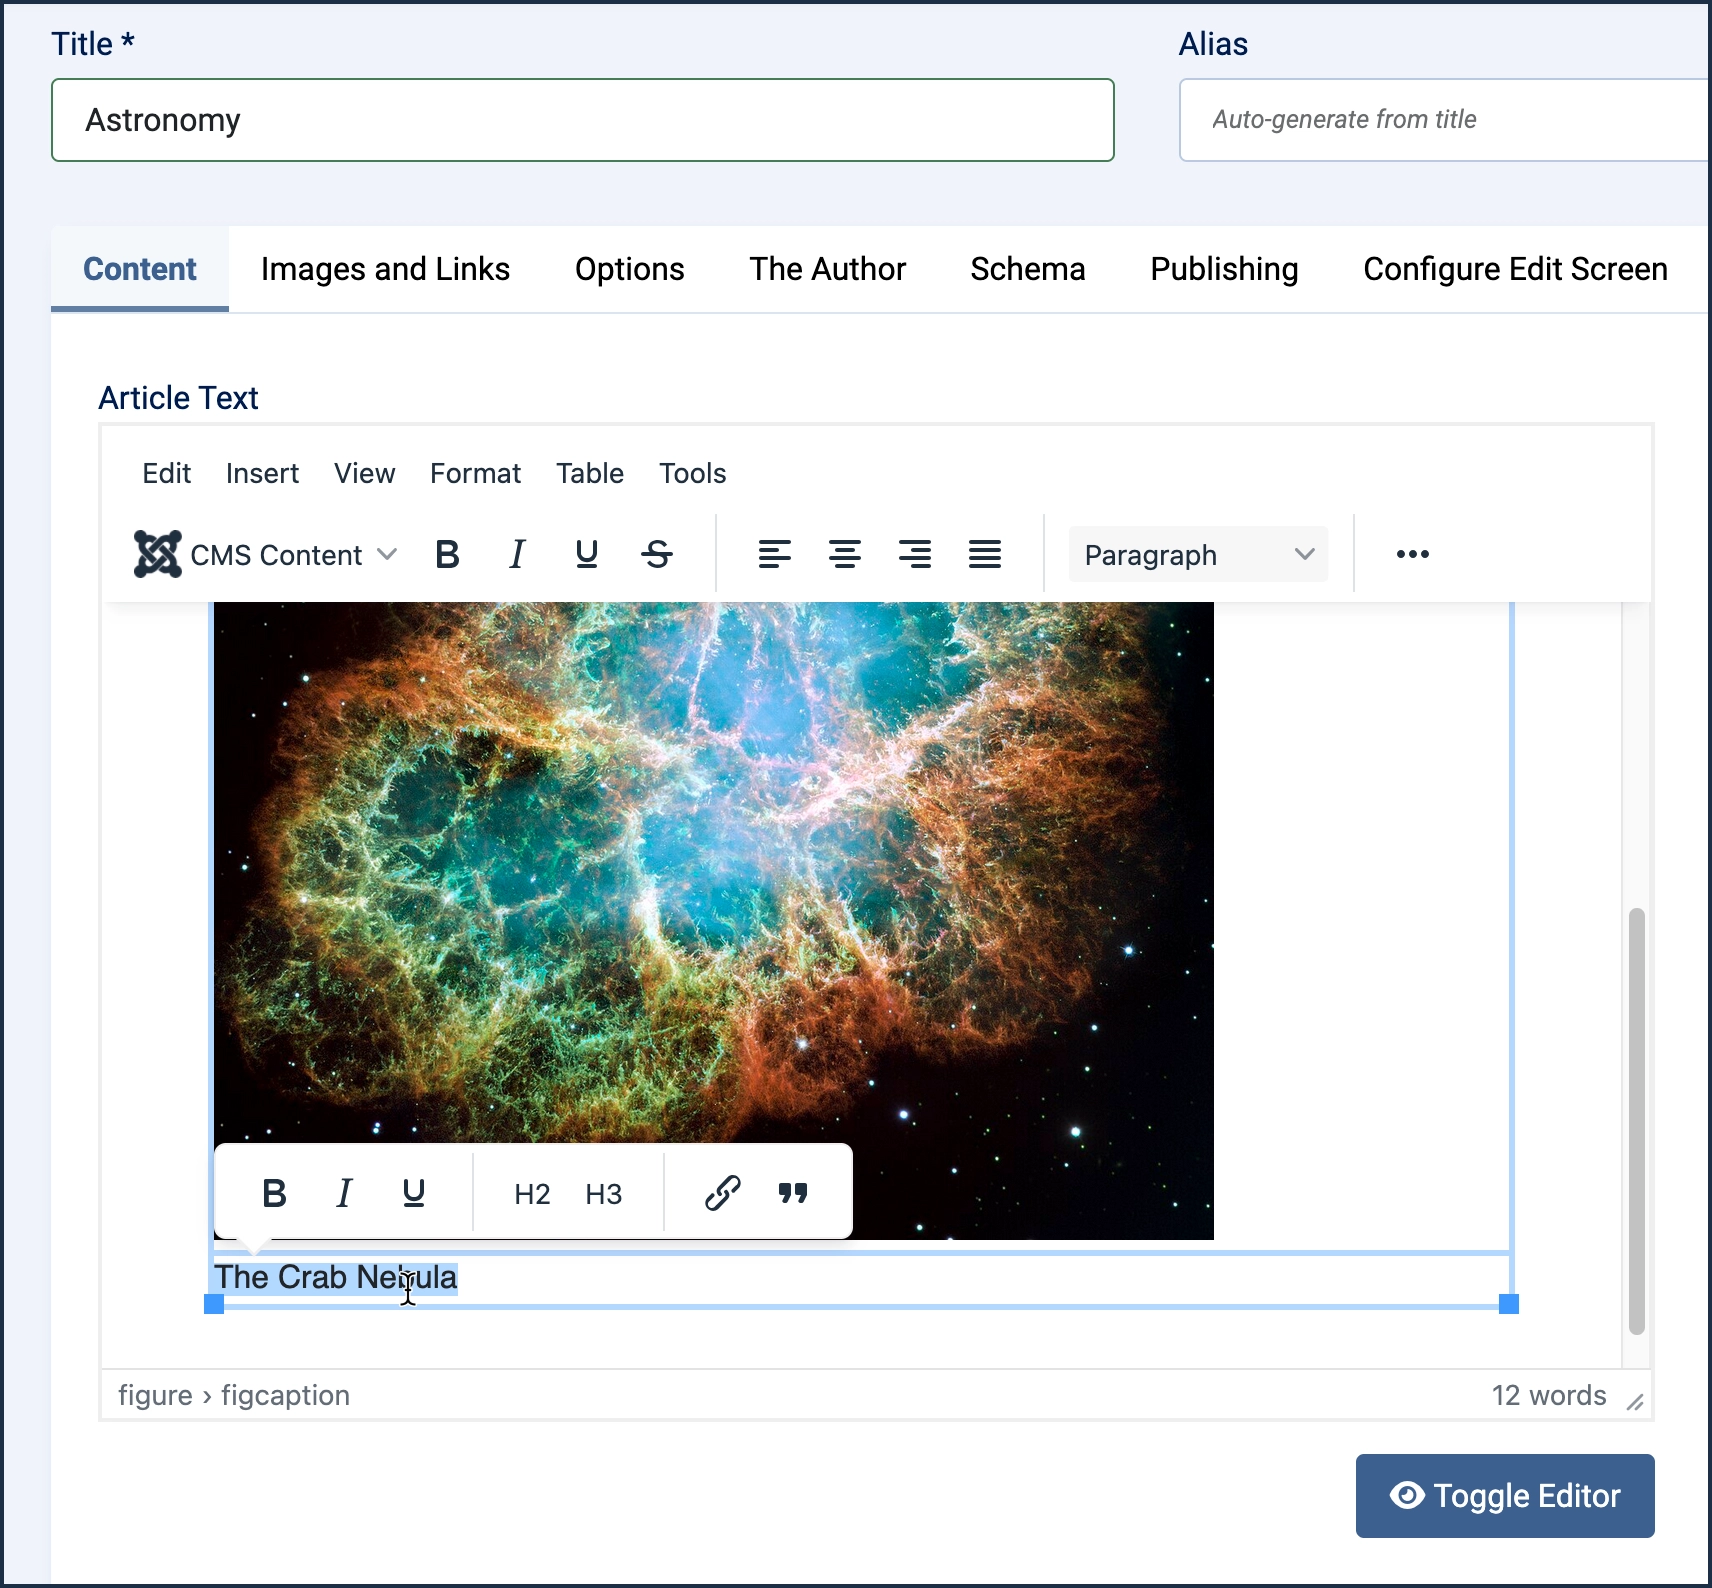
- Check the Show caption box then Save.
- The image returns with a caption area. Type a caption.
- Save the article by clicking the Save button at the top of the screen, then click on Preview to see how the image will appear in the article.
- Close the preview screen.
Concepts
- Images can take a long time to download, making your page slow. Optimizing images by using appropriate size, resolution, and format can speed up page load time.
- Images are stored separately from articles on the server. A single image can appear in multiple articles. Deleting an article does not delete the image.
- Adding alternate text to an image is important for accessibility. More information can be found in this WebAIM Alternative Text article.
Attribution
The images used in this tutorial came from the Wikimedia Commons website and comply with the licensing for each:
- Crab Nebula (NASA)
- Jupiter (Wikideas1)
- Andromeda Galaxy (Luc Viatour)