Add lists to your article content. The lists can be unordered (bulleted) or ordered (numbered).
Prerequisites
Knowing how to create articles. See 2.1 Creating an Article and Menu Item.
Adding a list to your article content
In this tutorial we will add an unordered list and an ordered list to your article content.
Open your administrator backend. To see what it will look like, you can also open the Open frontend link in the header to view your website in a new tab.
Switch between tabs to work with the frontend and backend.

Unordered list (bullets)
In this part of the tutorial we'll add an unordered (bulleted) list to our content.
Steps
- Create a new article, or go to Content -> Articles and open the article that needs to contain the list.
- Put your cursor at the point where you want the list to start.
- Type the first list item and press enter so it becomes a paragraph. Repeat this for every item that needs to be on your list.
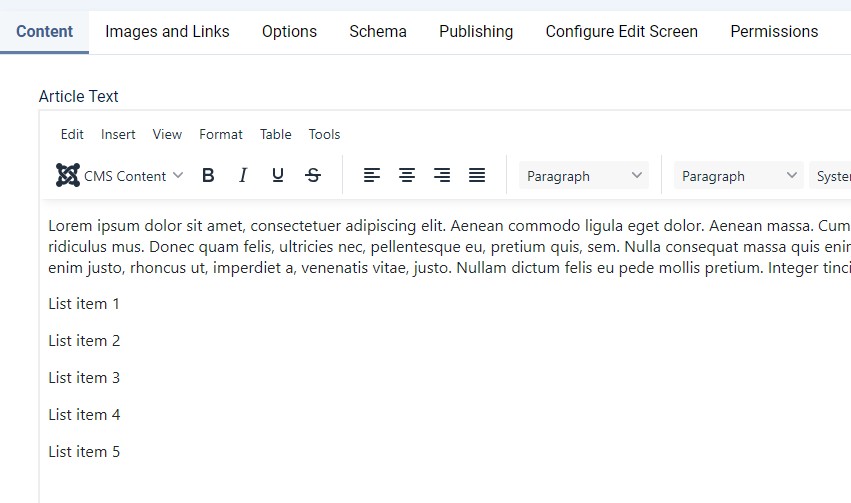
- Select the content you've just typed.

- In the editor toolbar, click the Unordered list icon (the one with the bullets).

- That's it! You've created your unordered list.

Ordered list (numbers)
In this part of the tutorial we'll add an ordered (numbered) list to our content.
Steps
- Create a new article, or go to Content -> Articles and open the article that needs to contain the list.
- Put your cursor at the point where you want the list to start.
- Type the first list item and press enter so it becomes a paragraph. Repeat this for every item that needs to be on your list.
- Select the content you've just typed.
- In the editor toolbar, click the Ordered list icon (the one with the numbers).

- That's it! You've created your ordered list.

An ordered list doesn't have to be numbers, there are six options to choose from. Click the small arrow-down next to the ordered list item to pick a different one:

Adding sub-items to your list
Your list can have sub-items, see this example:
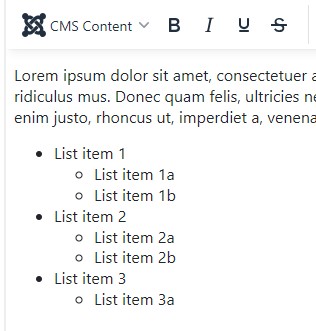
The steps below explain how to add those sub-items.
Steps
- In your list, select the items that need to be sub-items.

- Click the Increase indent icon in the editor's toolbar (or press your tab key).

- The items you had selected, will now be sub-items on the second level of your list.
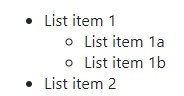
You can have multiple levels; every time you click the Increase indent icon, your selected list items will move to the next level.
In the example we've used an unordered list, but it works the same for both ordered and unordered lists.