The intro image of an article can be shown on a category blog page (a page that shows articles from one or more categories).
The full article image can be shown in the detailed view of an article.
Prerequisites
For this you need:
- an article. See 2.1 Creating an Article and Menu Item.
- a category blog page. See 2.3 Menu items for a category of articles.
Adding intro and full article images to your article content
In this tutorial we will add an intro image and a full article image to your article.
Open your administrator backend. To see what the result will look like, you can also open the Open frontend link in the header to view your website in a new tab.
Switch between tabs to work with the frontend and backend.

In our example, our article is called Demo article images and it's in the category Demo Stuff. This category has three articles.
The menu-item is set to show one leading article and four intro articles in two columns. The direction of the columns is set to across. That means intro article #1 will be shown in the left column, intro article #2 in the right column, and if we have a third article, it will be in the left column again.

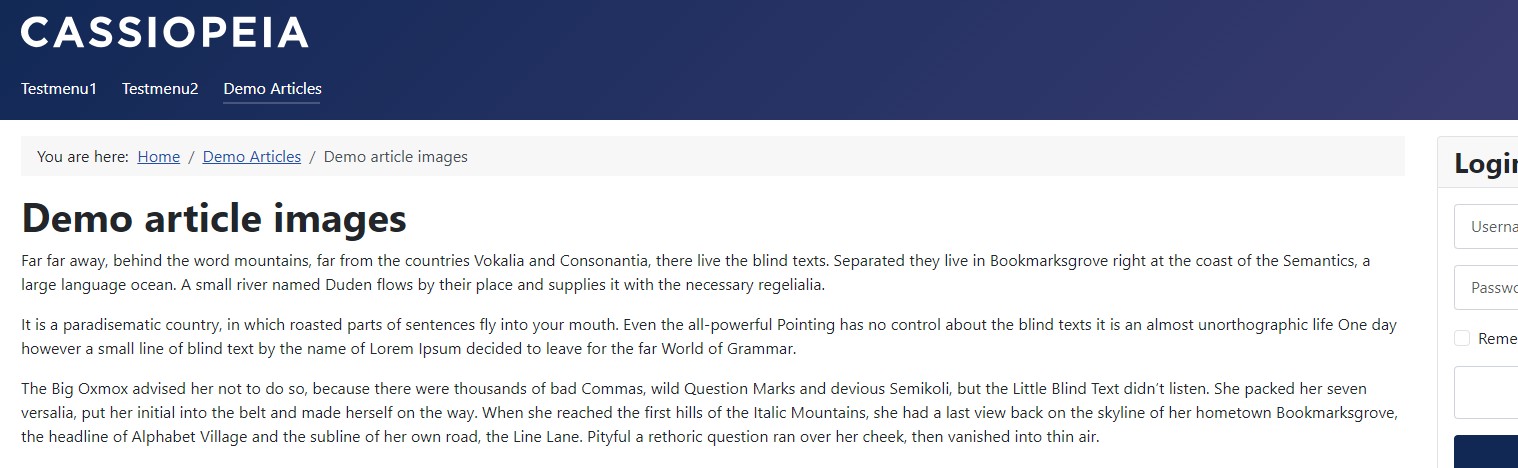
In the frontend, the page looks like this:

Our articles don't have images yet. We're going to add them now.
Intro image
In this part of the tutorial, we'll add the intro image. This the image shown on the category blog page.
Steps
- Create a new article, or go to Content -> Articles and open the article that needs images.
- Click on the tab Images and Links (don't see the tab? Check the Troubleshooting paragraph at the end of this article).
- In the top left part you can add the intro image. Click on the Select button to add an image.
- Now a popup screens shows us the images that are already there. In this case, the image we want to use isn't there yet so we will upload it. For that, click the Upload button in the top left corner.
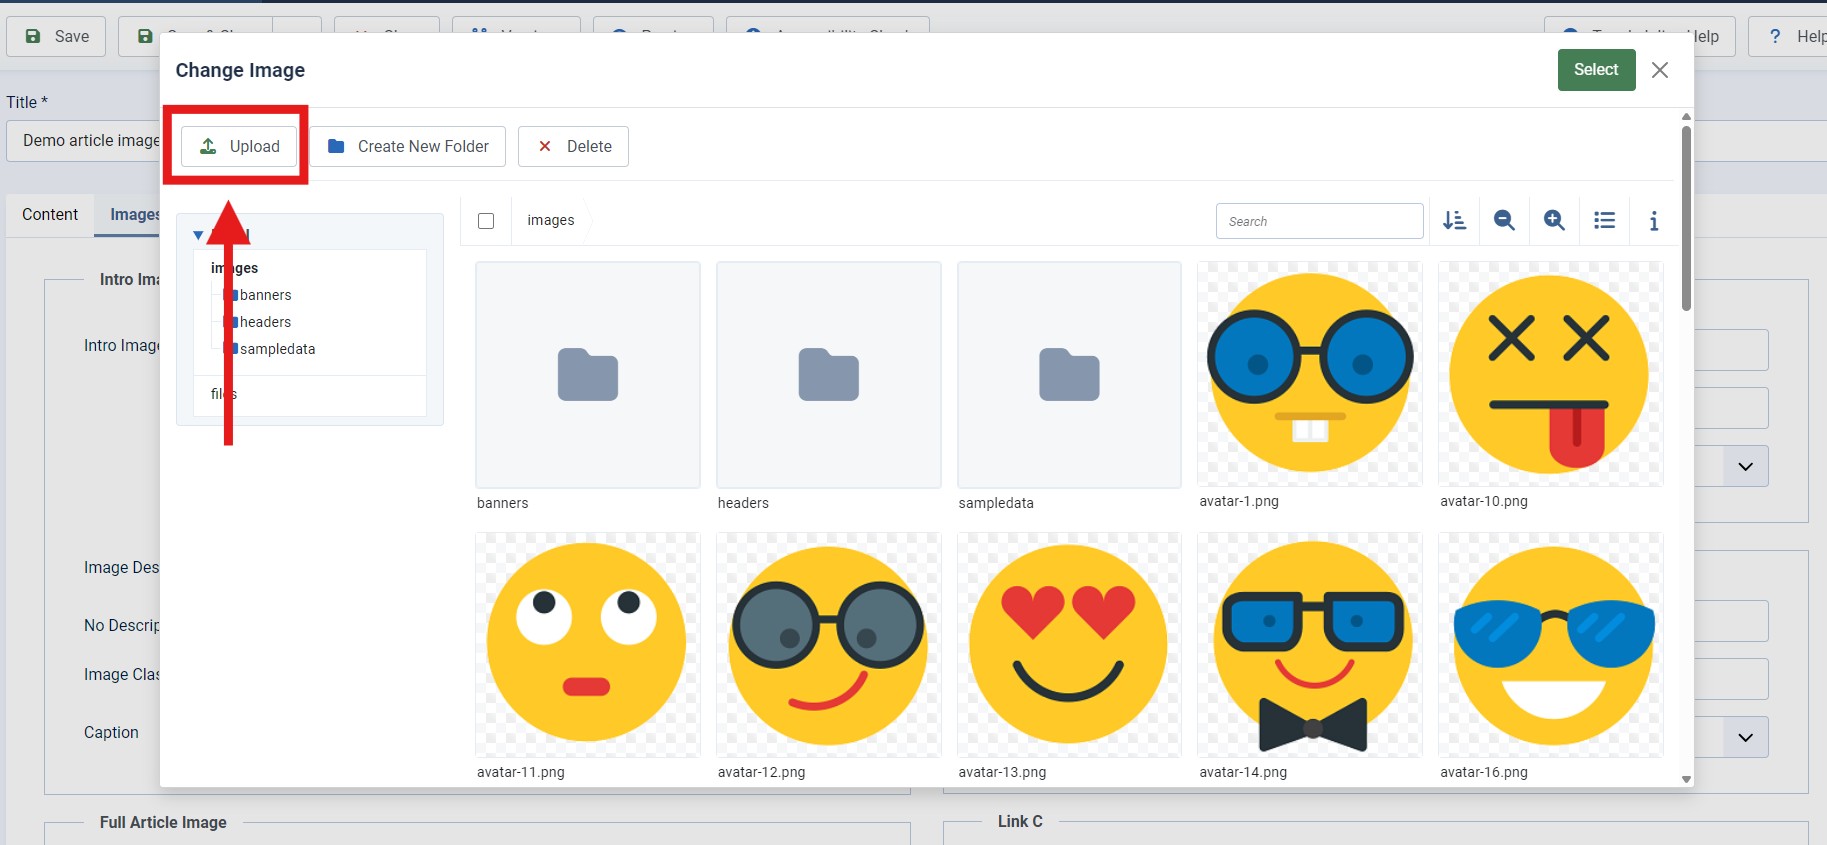
- Upload an image from your computer. It will appear in the popup, preselected. A message on top says it's uploaded.

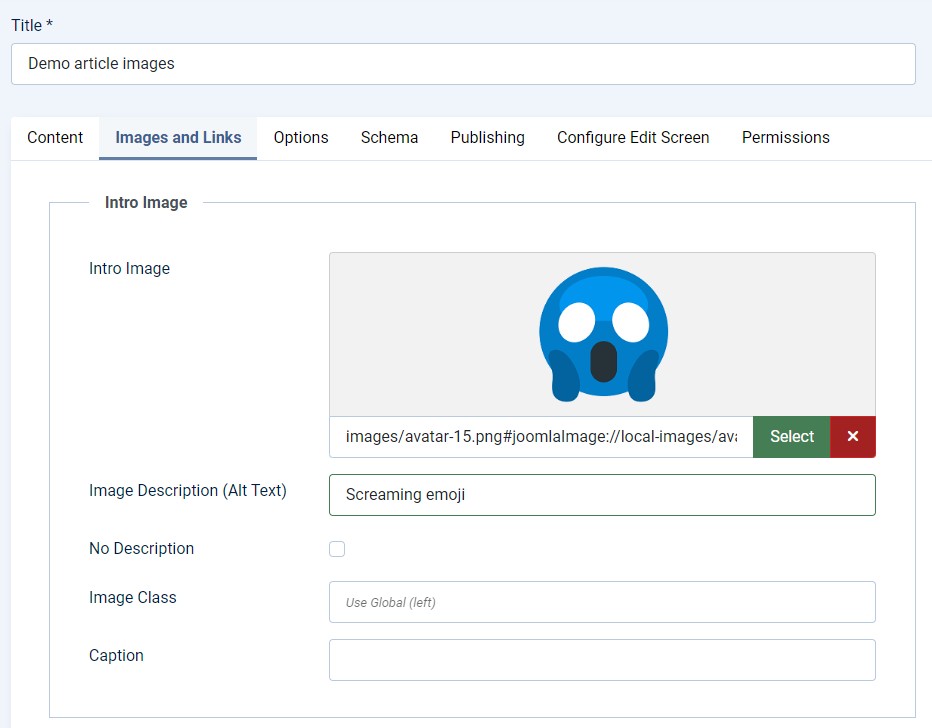
- Click Select in the top right corner and the selected image will be added. You can set an alt-text for your image. If it doesn't have to be read aloud by screen readers, check the box next to No description. Leave the other settings as they are.
- Save your article. Our frontend page now has an image for Demo article images.

Full article image
In this part of the tutorial, we'll add the full article image. This the image shown on the article page.
At this point, our article Demo article images doesn't have a full article image yet.
Steps
- Create a new article, or go to Content -> Articles and open the article that needs images.
- Click on the tab Images and Links (don't see the tab? Check the Troubleshooting paragraph at the end of this article).
- In the bottom left part you can add the full article image. Click on the Select button to add an image.
- Now a popup screens shows us the images that are already there. In this case, the image we want to use is there, so we just check the image we want to use and then click Select in the top right corner.

- The selected image will now be added. You can set an alt-text for your image. If it doesn't have to be read aloud by screen readers, check the box next to No description. Leave the other settings as they are.

- Save your article. Our frontend page now has an image for Demo article images.

Troubleshooting
If you don't see the Images and Links tab: close your article. In the article list view, click Options. Then click the tab Editing Layout. Scroll down until you see Administrator Images and Links. Set the switch to Show. Save & close and head back to the article you were working on. Now you should see the Images and Links tab.